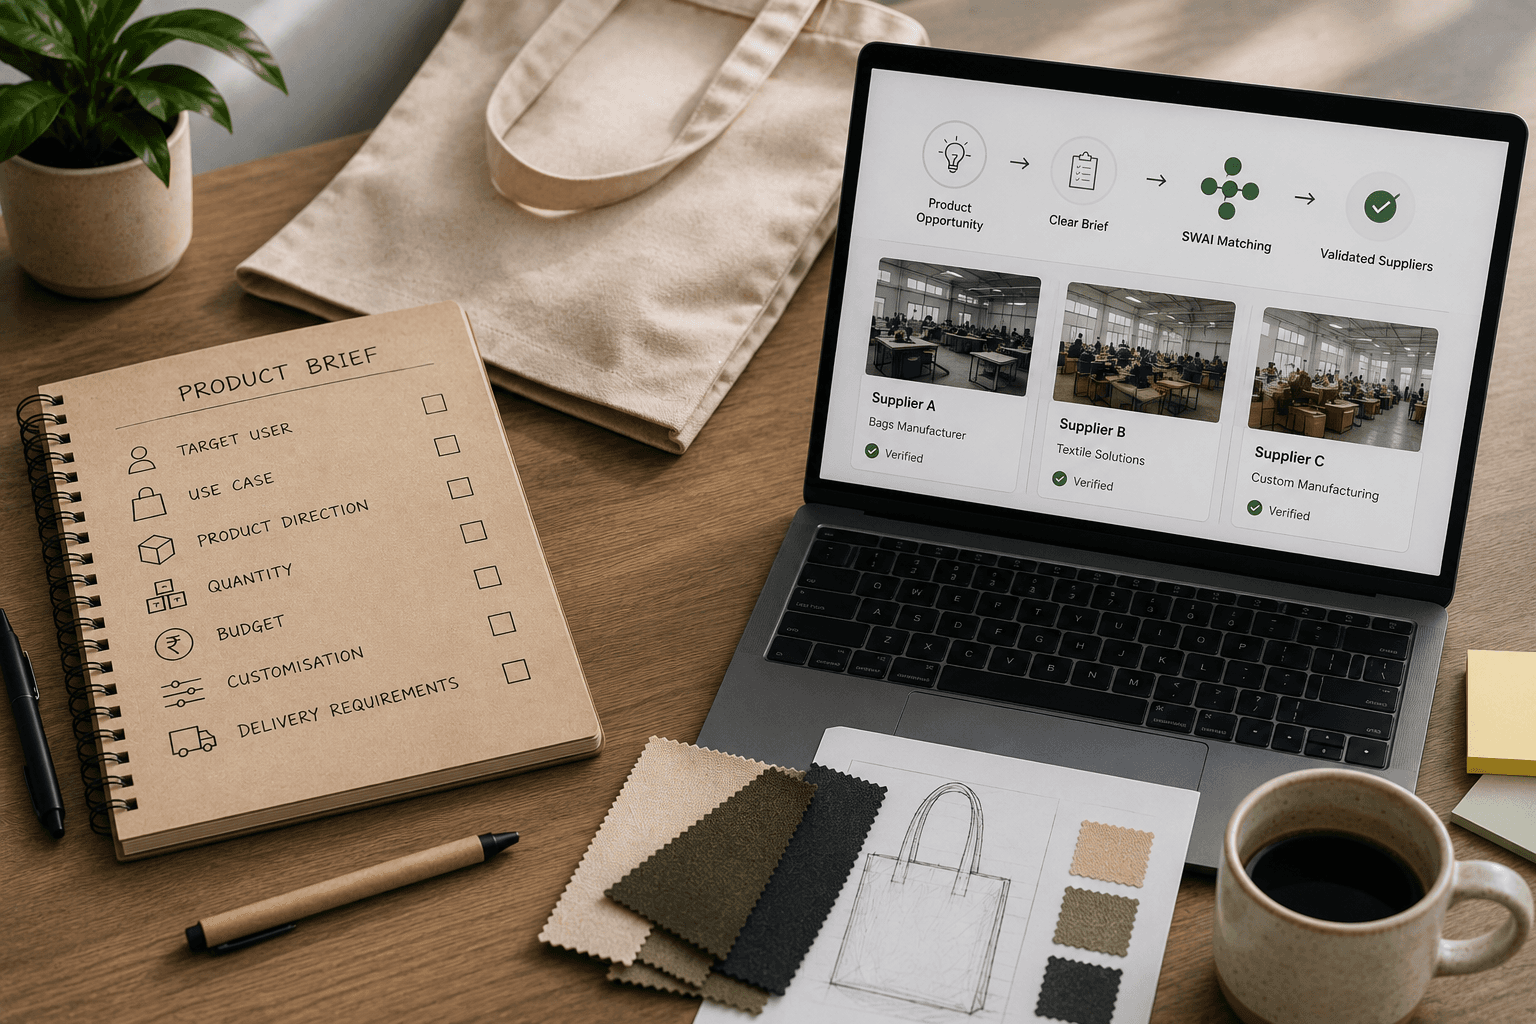

You had a clear picture in your head. A heavyweight hoodie, boxy fit, dropped shoulders, a perfect shade of navy.
So you sent the factory a mood board, two screenshots and the words “like this, but better”.
The sample arrives. The sleeves reach your knees, the colour is somewhere between navy and “bruise”, and the logo is the size of a pizza.
The factory didn’t get it wrong. They guessed. And a tech pack is how you stop them having to.
What is a tech pack?
A tech pack (short for technical package) is the instruction manual for making a piece of clothing. It tells the factory exactly what to make, what to make it from, how big each part should be, and how it should be finished, labelled and packed.
Think of it as the recipe, not the photo of the meal. A photo shows what you want. A recipe shows how to make it, every time.
Why a tech pack saves you time and money
Better quotes. Factories can only price what they understand. A clear tech pack means fewer “it depends” answers.
Fewer sample rounds. Every round of samples costs time and money. A good tech pack can save you a round or two.
The same product, every time. When you reorder, the tech pack is the standard. Nobody has to remember what you meant last time.
Easier to compare factories. Send the same tech pack to three factories, and you’re finally comparing like with like.
The 8 sections every tech pack needs
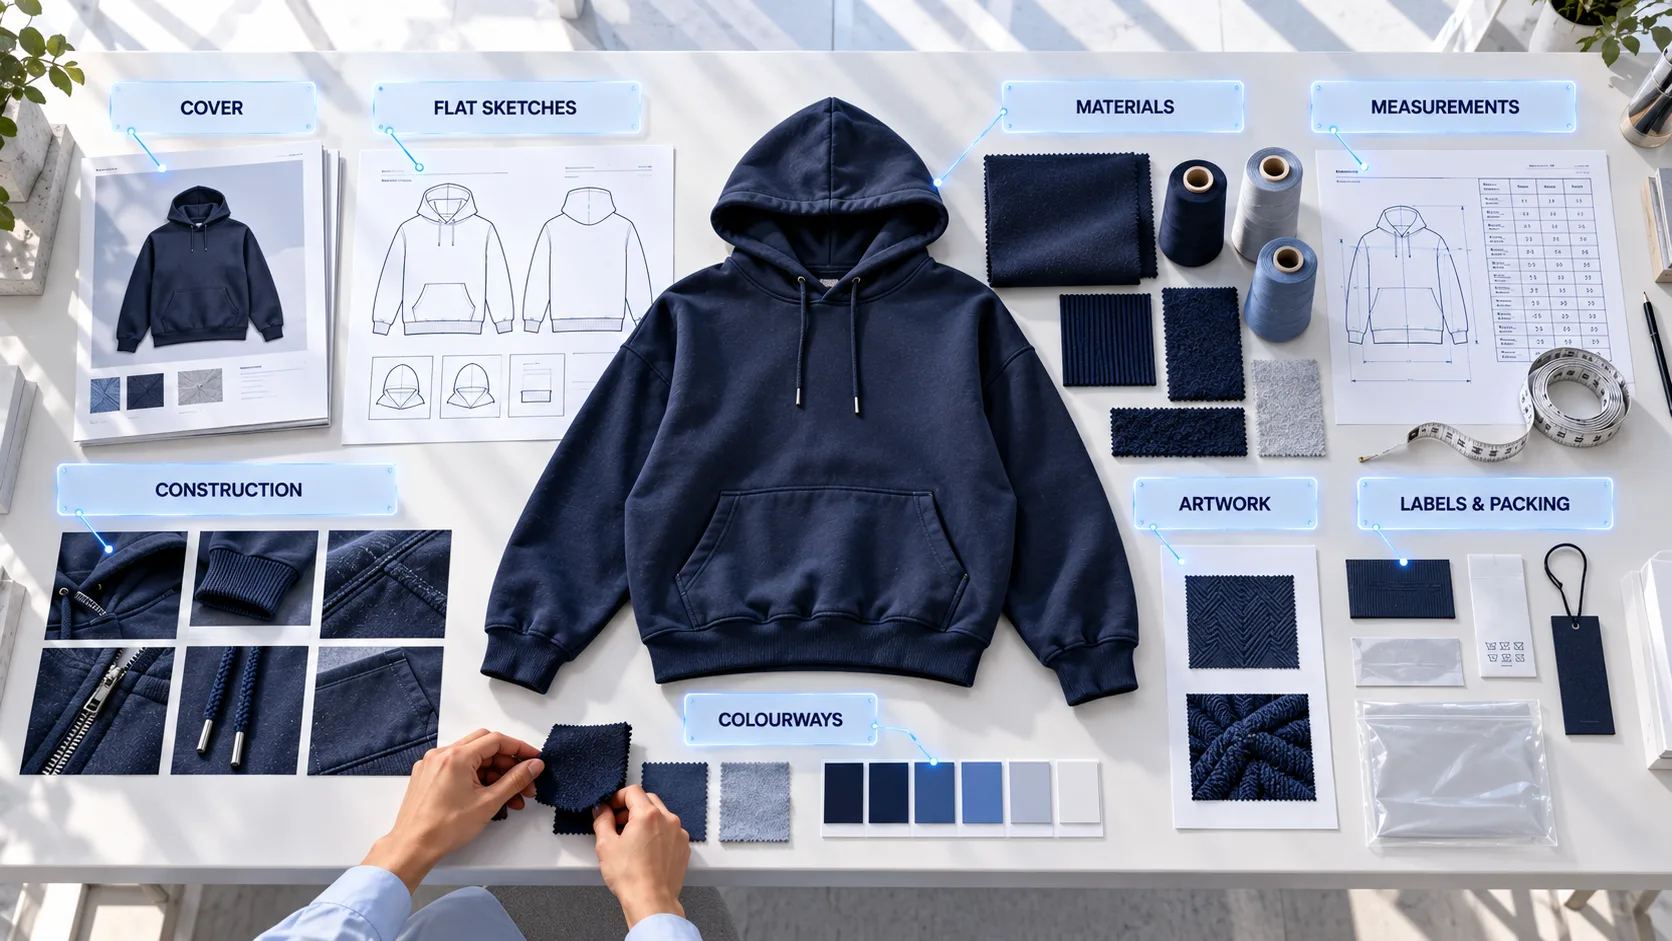
Cover page. Style name, style number, season or drop, date, version number and your contact details.
Flat sketches. Simple front and back drawings of the garment laid flat, with no model and no styling. Add close-ups for pockets, collars or zips.
Bill of materials (BOM). Every material and trim: main fabric, rib, thread, zip, drawcord, buttons, labels and tags, with colour and weight where you know it.
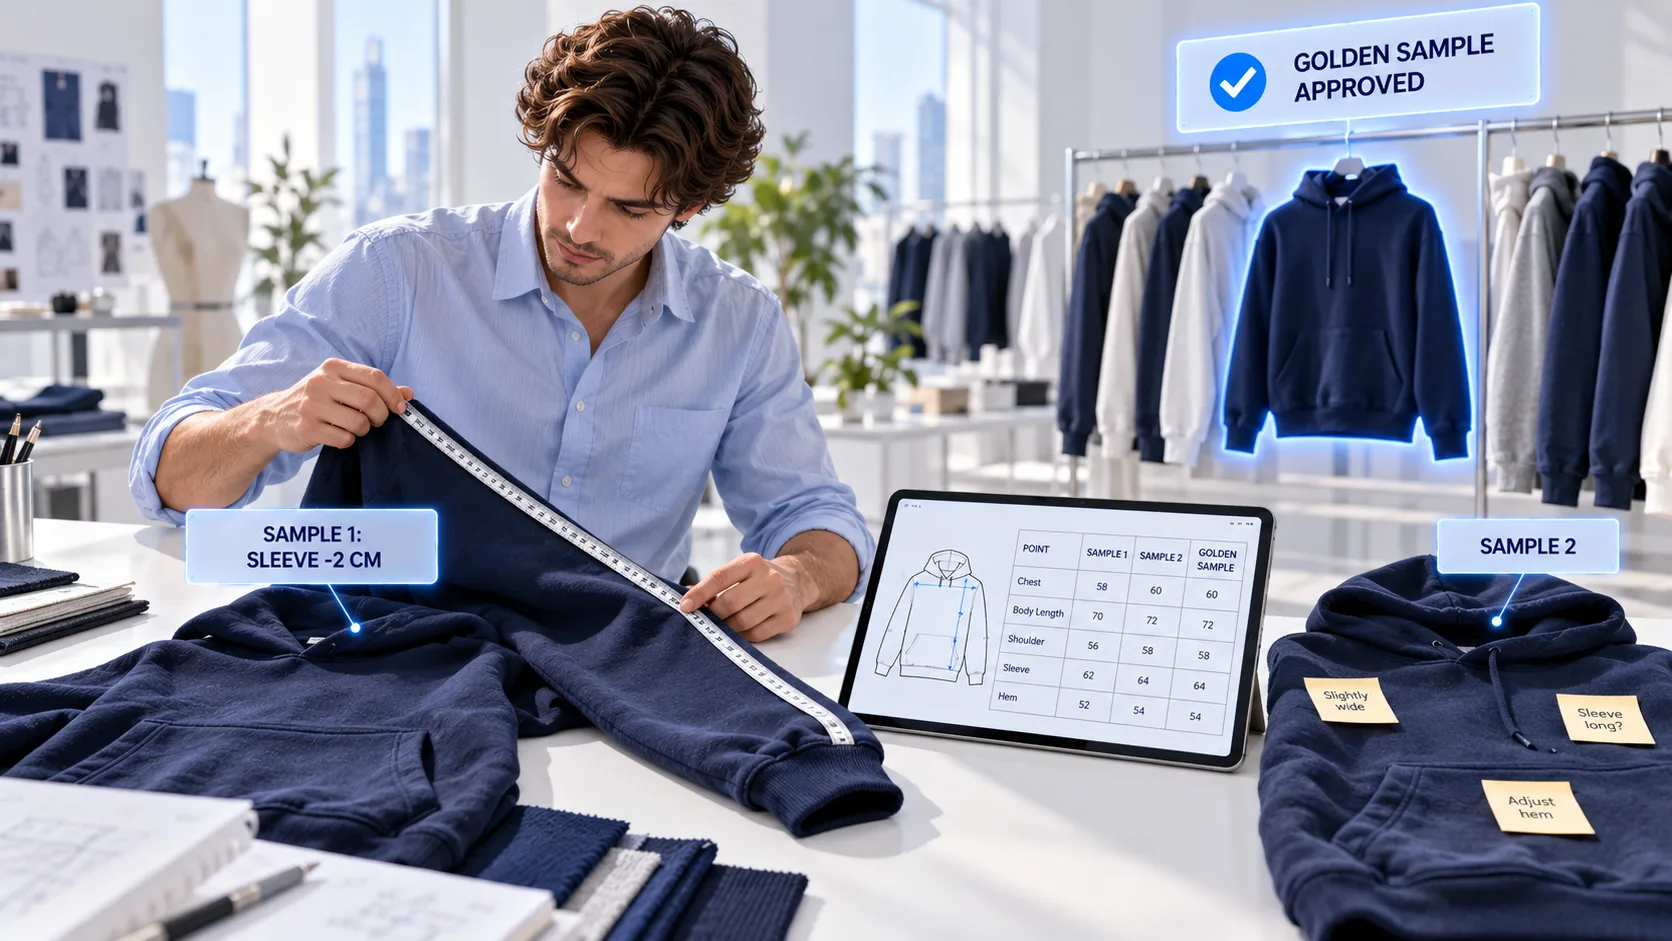
Measurement (size) spec. Every key measurement for every size, plus the allowed tolerance. More on this below, because it matters most.
Construction details. Seam types, stitch types, hems and how each part joins.
Colourways. Every colour version, with a physical colour reference or a fabric swatch, not just “navy”.
Artwork and placement. Each print or embroidery file, its size, its position (measured from a fixed point like the shoulder seam) and its method.
Labels, tags and packaging. Neck label, care label, hang tag, how each item is folded and bagged, and how cartons are marked.
Measurements: where most samples go wrong
If you only get one section right, make it this one.
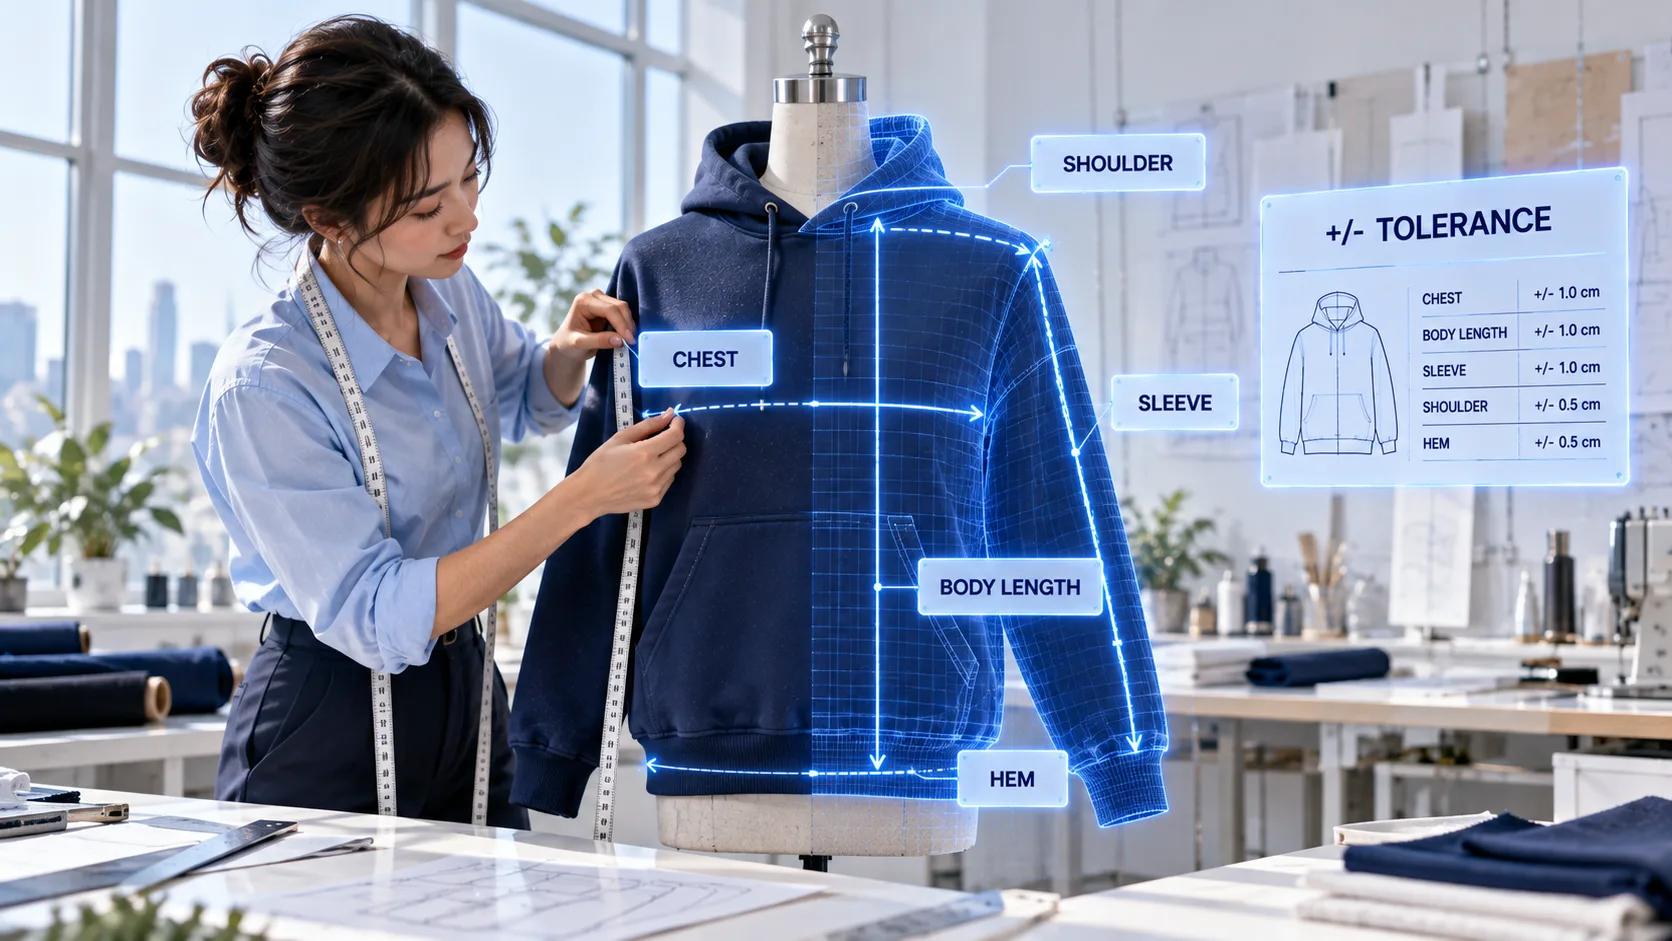
Measure a garment you love. Lay it flat and measure chest, body length, sleeve length, shoulder, hem and hood. That’s your starting point.
Say how you measured. “Chest: measured 2.5 cm below the armhole, edge to edge” leaves no room for guessing.
Add tolerances. A tolerance is how much each measurement can be off and still pass. Without one, “close enough” becomes the factory’s call.
Grade every size. Show the measurements for each size, not just the sample size.
Construction and labels: the tiny details
This is where premium pieces separate from cheap ones. Spell out:
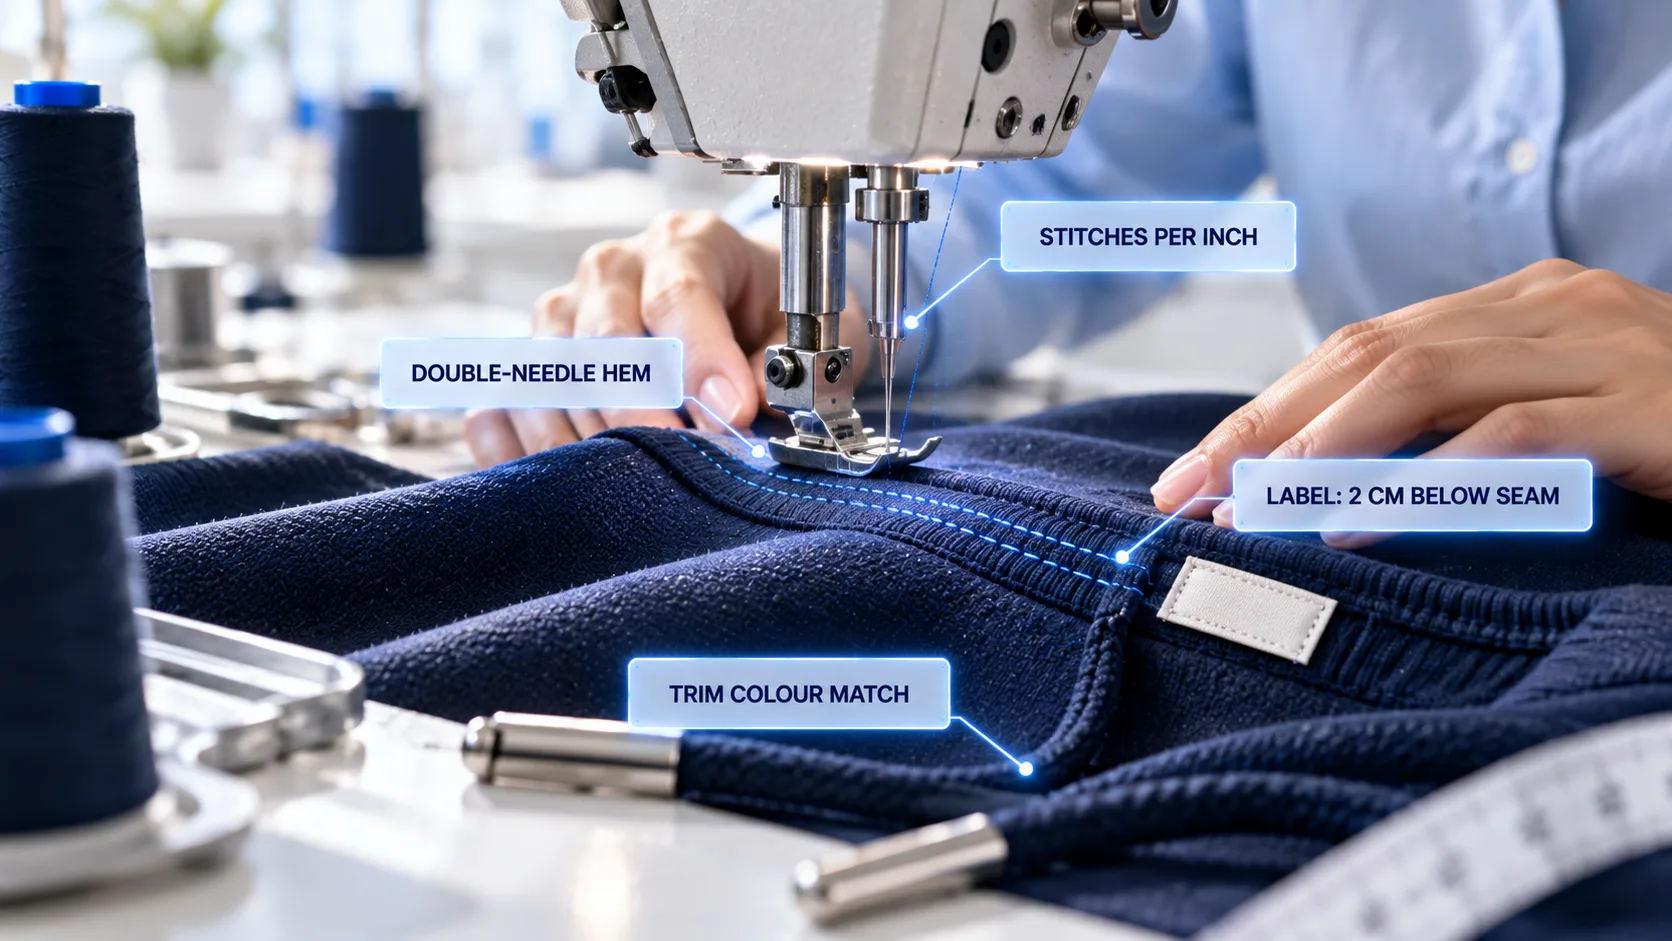
The stitch and seam type for key areas, like a double-needle hem or a flatlock seam.
Where every label goes, with a measurement from the nearest seam.
Trim details, like drawcord ends, zip pull colour and eyelet finish.
Folding and packing, so the product arrives looking like a brand, not a bundle.
Care and content labels often have legal requirements in the country where you sell, so check what your market needs before you finalise this section.
The sample loop
Even with a great tech pack, the first sample is a draft. Here’s how to keep the loop short:
Check the sample against the tech pack, line by line, not against the picture in your head.
Write comments on the tech pack itself, with photos and measurements. “Sleeve 2 cm too long, see photo” beats “sleeves feel off”.
Update the version number every time something changes.
Approve a golden sample in writing. That’s the standard for bulk production.
For what to check before you pay for the bulk order, see The 10 Questions You Must Ask Before Placing Your First Order.
How to make a tech pack if you’re not a designer
You don’t need to be a fashion designer to make a useful tech pack.
Start from a reference garment. Measure it, photograph it and note what you’d change.
Use a simple template. A spreadsheet or slide deck with the 8 sections above is enough for a first version.
Sketch roughly, label clearly. A rough flat sketch with clear arrows and notes beats a beautiful drawing with no detail.
Ask your manufacturer or sourcing partner to review it before sampling. They’ll spot gaps fast.
Quick answers to common questions
What is a tech pack in fashion? It’s a document that tells a factory exactly how to make a garment: materials, measurements, construction, colours, artwork, labels and packaging.
Do I need a tech pack to make clothes? For anything custom, yes. Without one, the factory has to guess, and guesses cost you sample rounds.
What’s included in a tech pack template? Usually a cover page, flat sketches, bill of materials, measurement spec, construction details, colourways, artwork placement, and labels and packaging.
Can I make a tech pack myself? Yes. Start from a garment you like, measure it, and fill in a simple template. Then ask your manufacturer to review it before sampling.
Is a tech pack the same as a design? No. A design shows what it looks like. A tech pack explains how to make it.
The bottom line
A mood board shows a factory what you dream about. A tech pack shows them what to make. Spend an afternoon on it now, and you’ll save weeks of samples, emails and sleeves that reach your knees.
Ready to make your first collection or custom merch? Send us your product brief, or your tech pack, and your target quantity, and we’ll help you find an apparel manufacturer that fits.
Written by
Sourcewithai
October 24, 2026 · 5 min read